Ribbon Flower For A beginner: Dusty Rose Fall Brooch


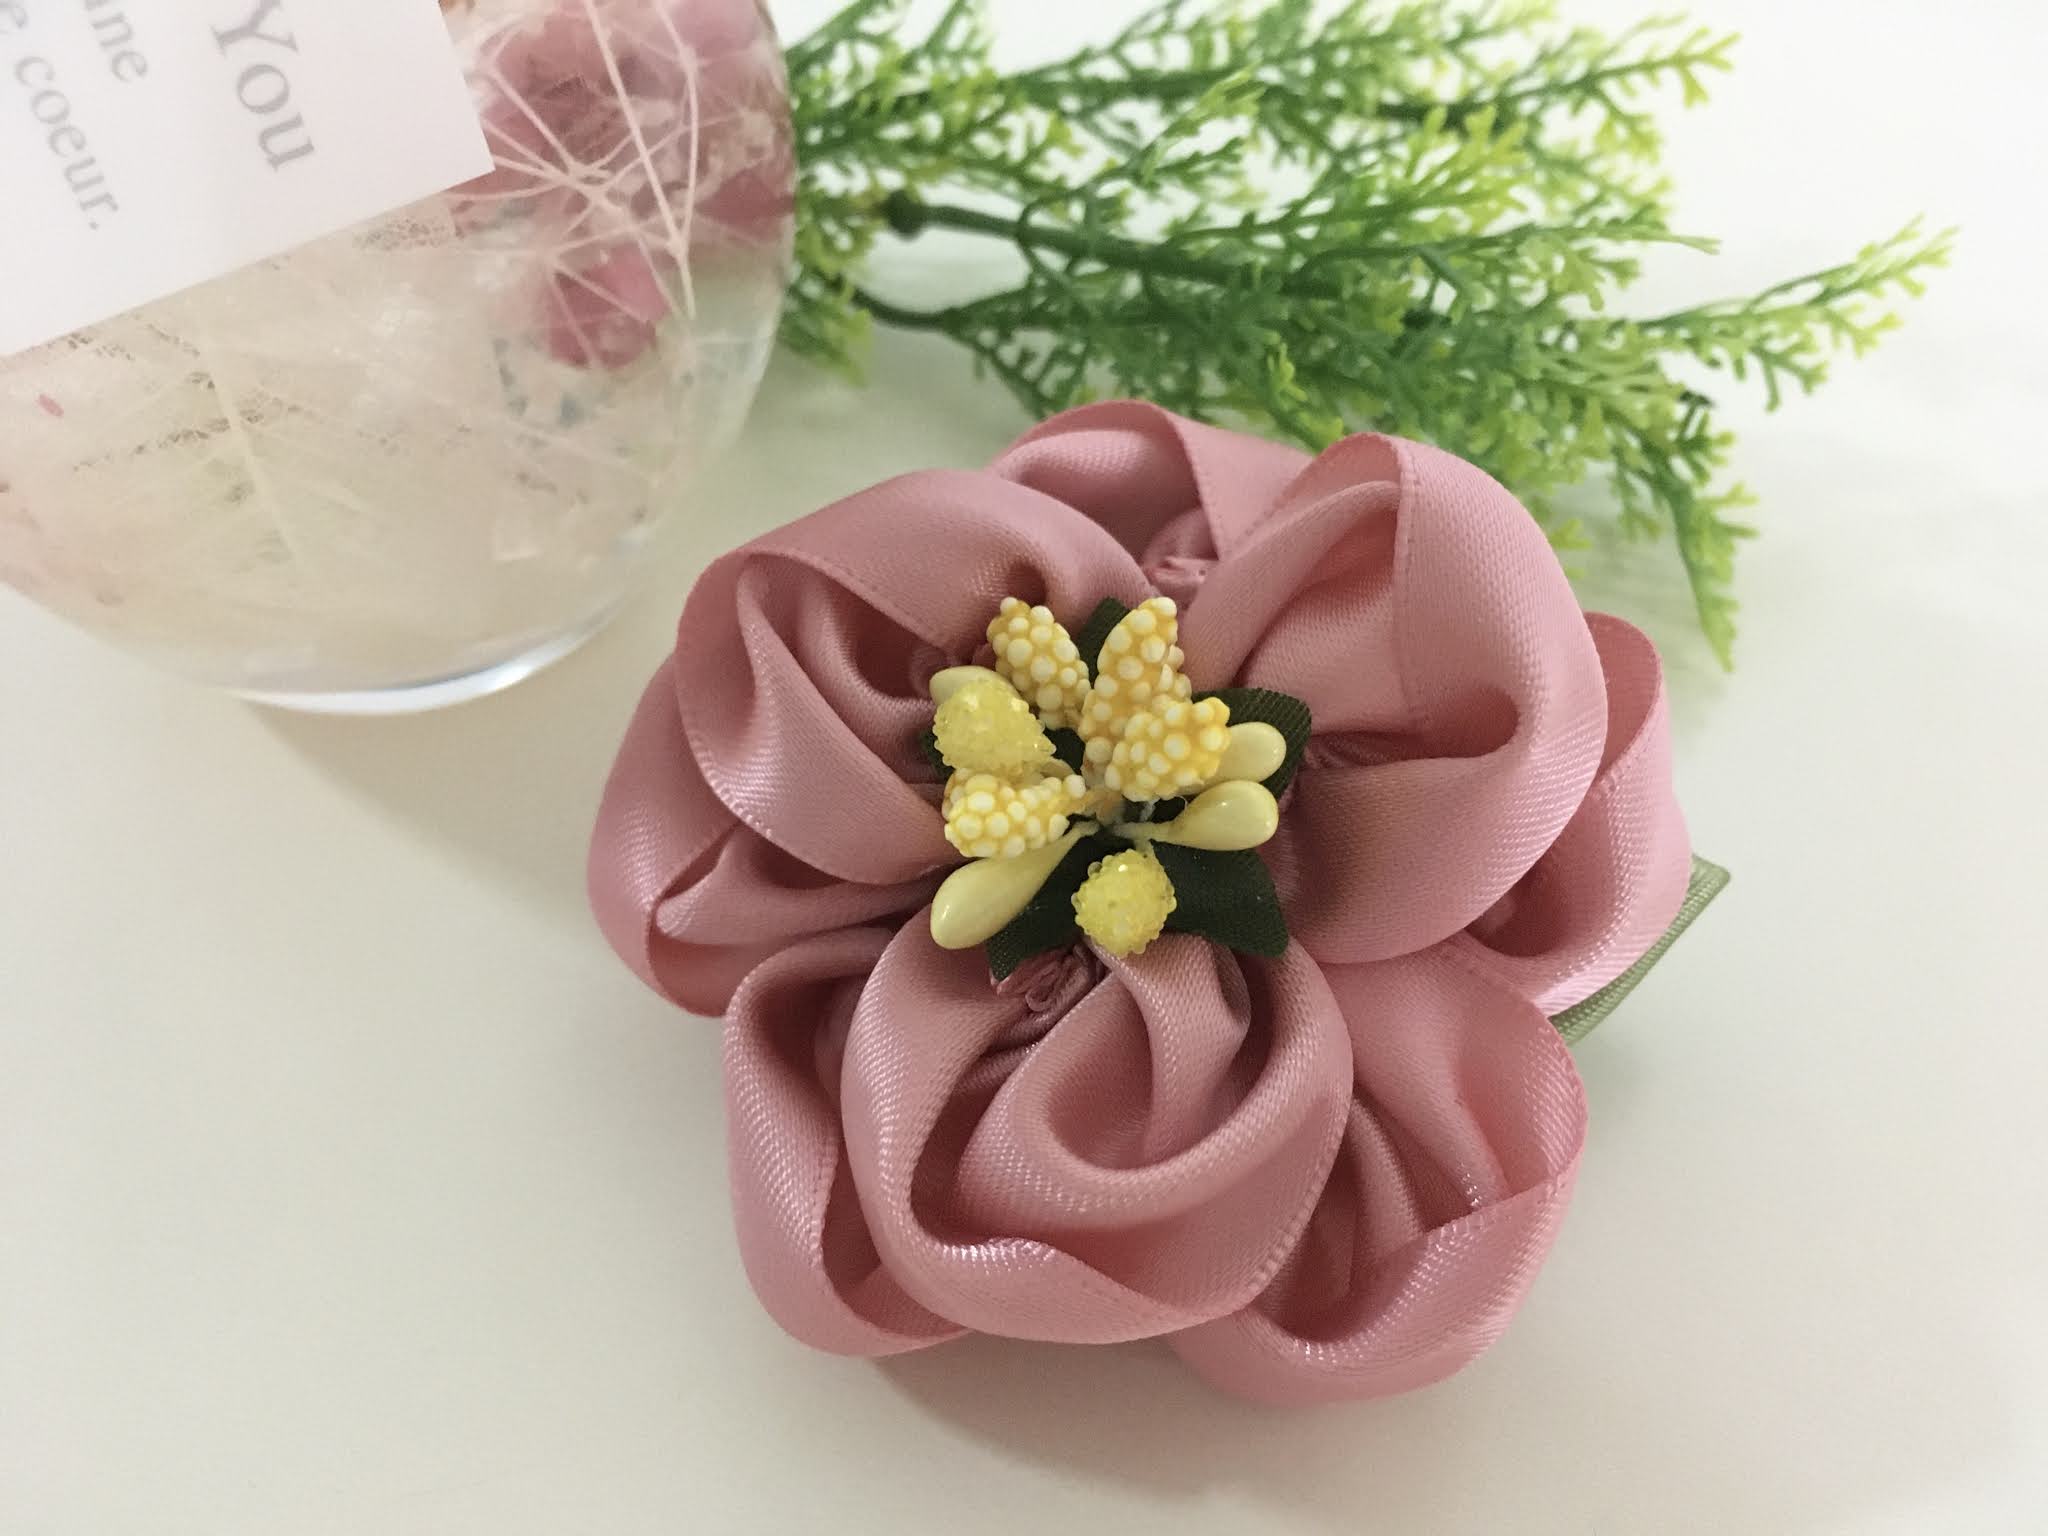
Dusty Rose Brooch; designed by Acik Mardhiyanti; photographed by Acik Mardhiyanti

It that beautiful, isn't it? This brooch is my new creation, it means I am going to share with you on how I make this a new petal. Are you exciting? Let's rock!

Materials:
  • Double-face satin ribbon with 4 cm for the width, and you need dusty rose color - actually, it is an optional color
  • Double-face satin ribbon with 4 cm for the width, and you need green willow color - actually, the color is up to you
  • Green felt
  • a needle and sewing thread
  • 1 artificial berry or flower stem
  • ruler
  • lighter
  • scissor
  • gun glue
  • 1 pin brooch with 3 cm for the size
Step by step:
  • Cut dusty rose ribbon with 8 cm for the length, you need 8 pieces

Photographed by Acik Mardhiyanti
  • Cut willow ribbon with 8 cm for the length, you need 2 pieces
  • Burn right and left edges with the light to secure them
  • Prepare a needle and sewing thread
  • First, we make the petals

Photographed by Acik Mardhiyanti


Photographed by Acik Mardhiyanti


Photographed by Acik Mardhiyanti


Photographed by Acik Mardhiyanti


Photographed by Acik Mardhiyanti


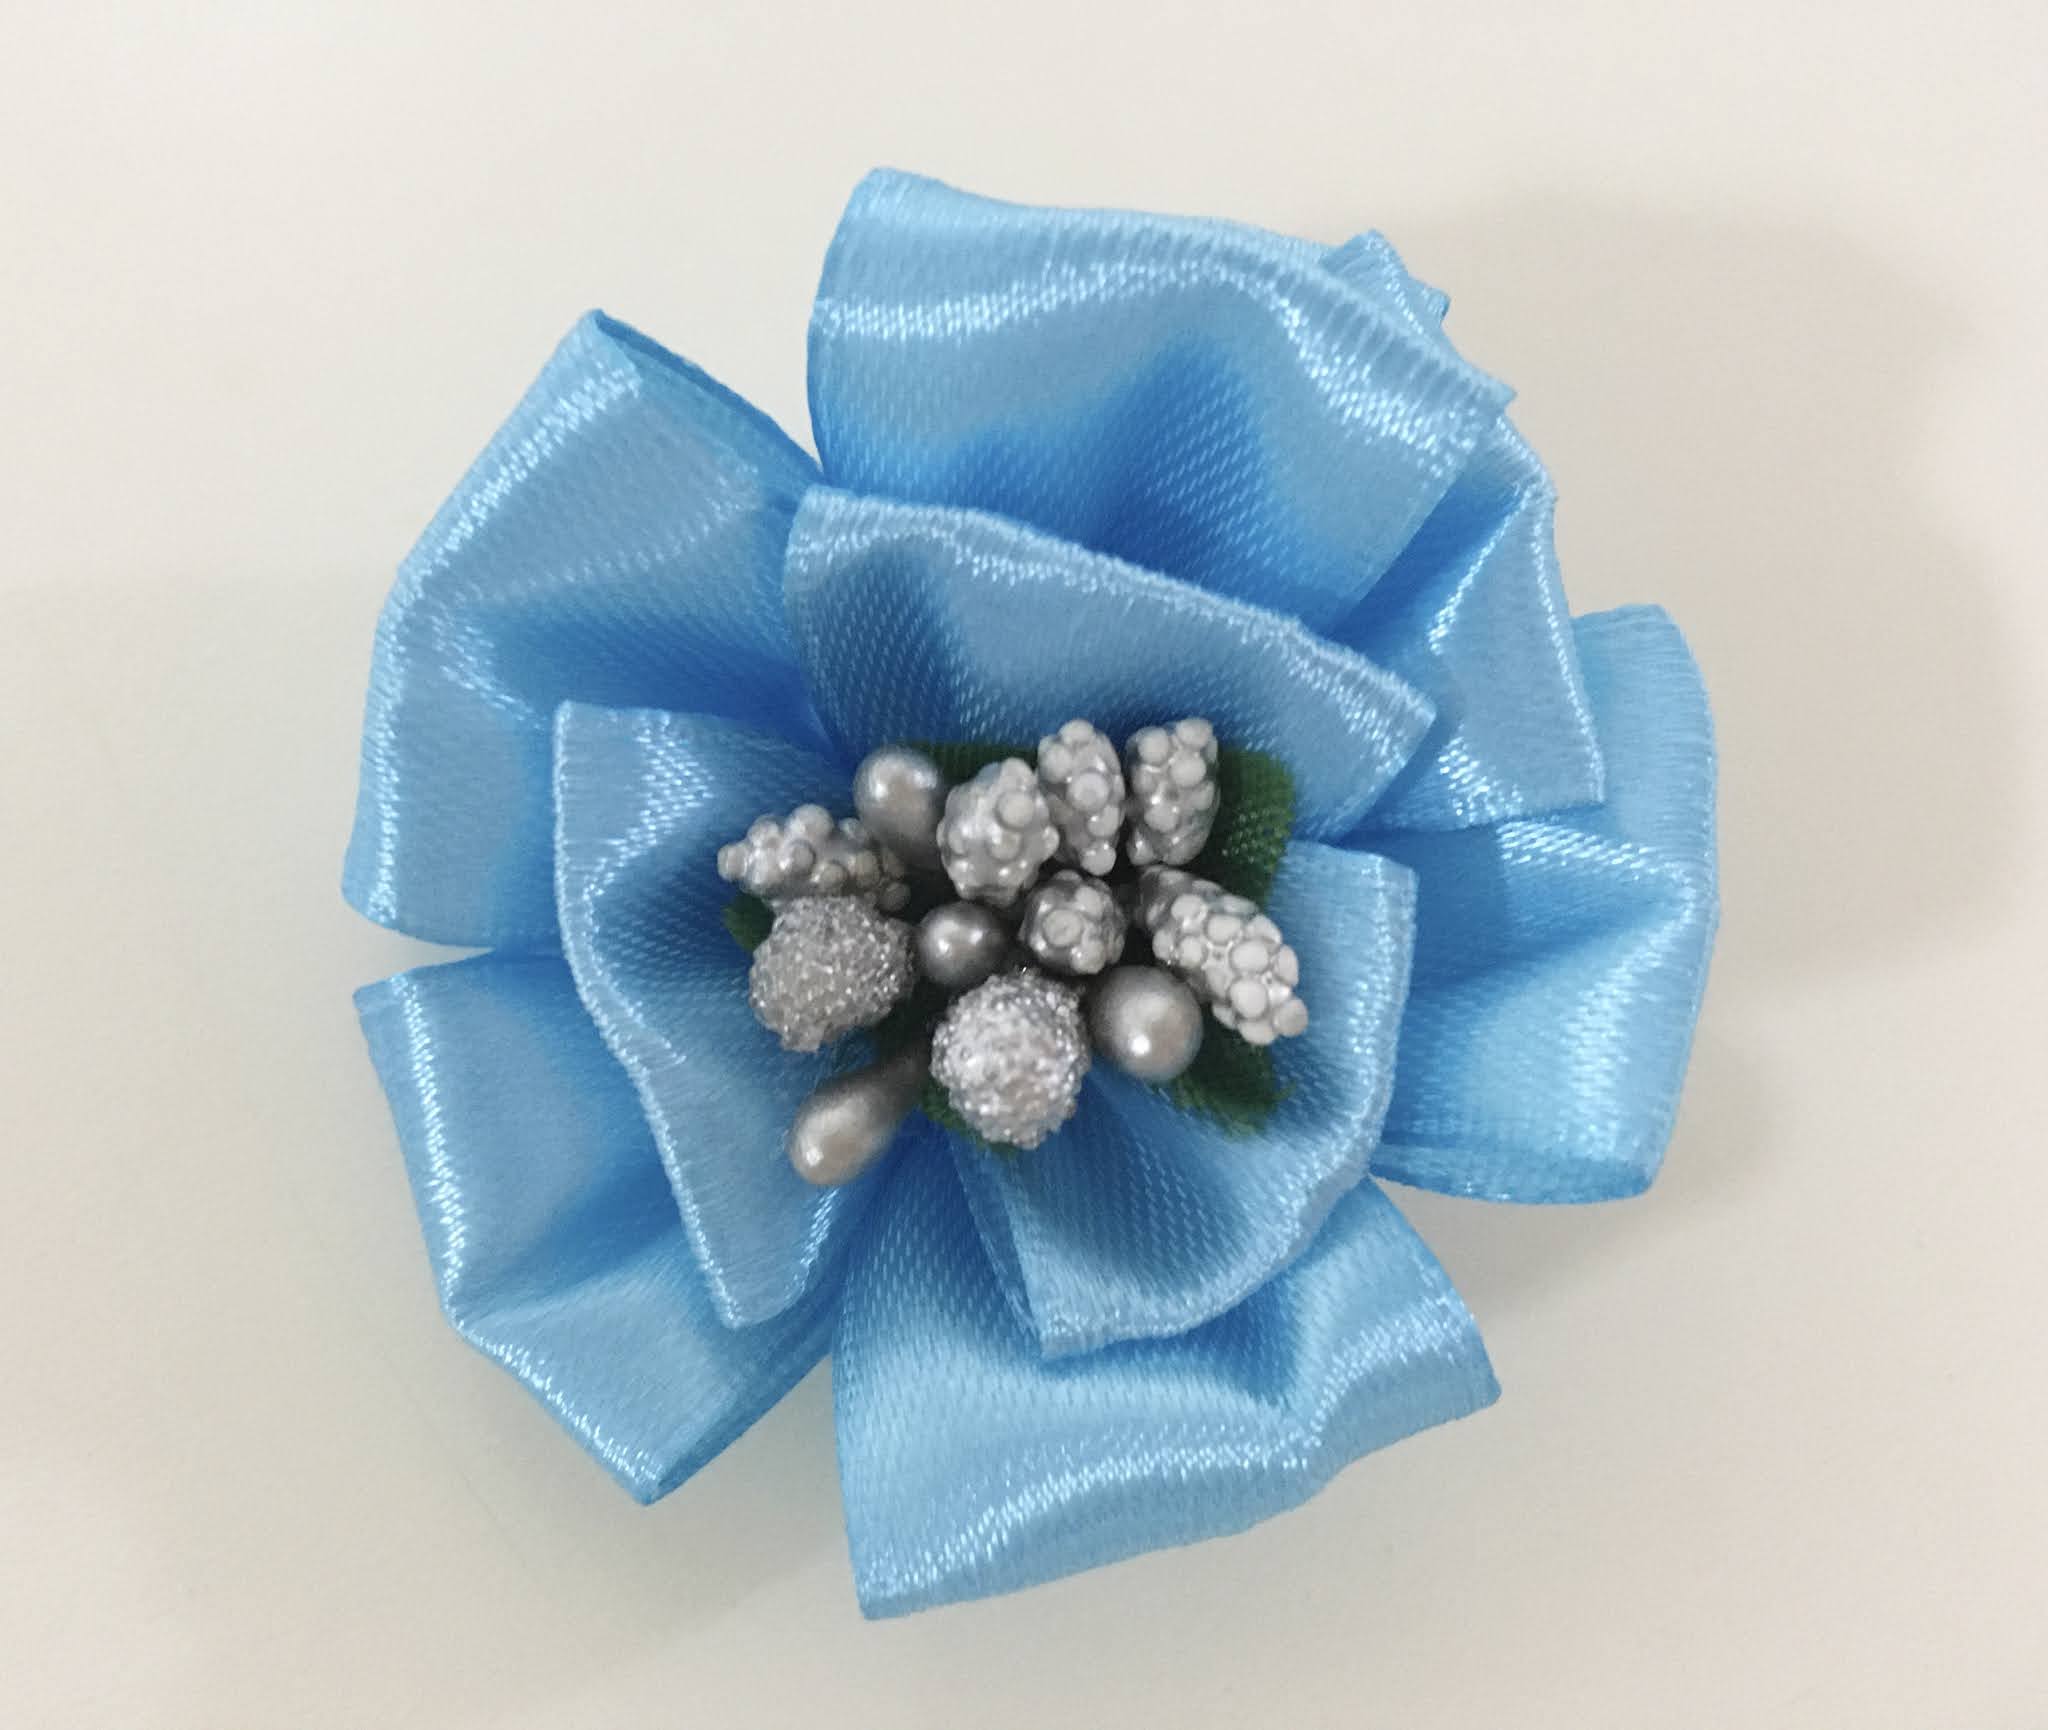
My a new petal; photographed by Acik Mardhiyanti
  • Secondly, we make leaves

Step 1 - Photographed by Acik Mardhiyanti


Step 2 - Photographed by Acik Mardhiyanti


Step 3 - Photographed by Acik Mardhiyanti
  • Cut round the felt

Photographed by Acik Mardhiyanti
  • Now petals and the leaves are ready; we start to make the flower first by joining 5 petals

Photographed by Acik Mardhiyanti


Photographed by Acik Mardhiyanti
  • Join another 3 petals by gluing them on the first layer

Photographed by Acik Mardhiyanti


Photographed by Acik Mardhiyanti


All petals are joined - Photographed by Acik Mardhiyanti
  • Take artificial berry or flower stamens, applying glue, and attach it in the middle of the flower

Photographed by Acik Mardhiyanti


From the back - Photographed by Acik Mardhiyanti
  • Joining the leaves by gluing them then attach to the flower

Photographed by Acik Mardhiyanti


Photographed by Acik Mardhiyanti
  • Attach the pin brooch by stitching it

Photographed by Acik Mardhiyanti
  • Applying the glue on the back of the felt, attach it to the flower

Photographed by Acik Mardhiyanti


Photographed by Acik Mardhiyanti
  • If you have a "HANDMADE" label it would be great to place it

Photographed by Acik Mardhiyanti
  • Dusty Rose Fall Brooch is ready!

Photographed by Acik Mardhiyanti

It looks easy peasy, right? You just need to be patient and practice then you would become master on it. I believe you can do it by yourself. Thank you for reading my article and see you in another article.

Note:
  • Written by Acik Mardhiyanti
  • Photographed by Acik Mardhiyanti
  • Do not copy this article without permission
  • Do not reuse these photographs anywhere else without permission


Handmade Ribbon Flower For A Beginner: Blue and Silver Flower Brooch


Designed by Acik Mardhiyanti; photographed by Acik Mardhiyanti

It is a pretty flower brooch, right? What do you think? In this article, I am going to share with you how to create it. Moreover, I will guide you step by step and make sure easy following too. Go get your materials, and starting to practice. I believe you can do it!

Materials:
  • a needle
  • sewing thread
  • a silver leaf
  • artificial berry or flower stamen
  • light blue satin ribbon with 2,5 cm for the width
  • dark blue dark satin ribbon with 2,5 cm for the width
  • 1 pin brooch with 3 cm for the size
  • felt
  • ruler
  • Gun glue
These are what you do:
  • Cut dark blue satin ribbon with a length of 7 cm. You need 6 pieces
  • Cut light blue satin ribbon with a length of 6 cm. You need 8 pieces

Photographed by Acik Mardhiyanti
  • Cut light blue satin ribbon with a length of 5 cm. You need 3 pieces
  • Burn the right and left edges with a lighter
  • Prepare the sewing thread and a needle
  • First, take light blue satin ribbon with 5 cm for the length
  • Pulling from the right side to the left until both sides met
  • Starting sewing from the right side, join them

Photographed by Acik Mardhiyanti
  • Pulling the thread slowly, join two sides and secure it

Photographed by Acik Mardhiyanti

  • Secondly, take 3 pieces the light blue satin ribbon with 6 cm for the length. Doing the same step but after pulling the thread you do not need to join two sides, just secure it.

Photographed by Acik Mardhiyanti
  • Thirdly, take 5 pieces the light blue satin ribbon with 6 cm for the length and doing the same steps

Photographed by Acik Mardhiyanti


Photographed by Acik Mardhiyanti
  • Now, take 6 pieces the dark blue satin ribbon. Do the same steps as others but you sewing each one of them. You do not need to join the petals

Photographed by Acik Mardhiyanti
  • All the petals are ready!

Photographed by Acik Mardhiyanti
  • Prepare the artificial berry or flower stamen. I choose the silver color

Photographed by Acik Mardhiyanti

  • Apply the glue in the bottom of the artificial berry or under the green leaves. Put in the artificial berry in the hole. Cutting the stalk

Photographed by Acik Mardhiyanti


Photographed by Acik Mardhiyanti
  • Applying the glue on the second petal that has 6 cm for the length. Join it with the center of the flower

Photographed by Acik Mardhiyanti


Photographed by Acik Mardhiyanti

  • Applying the glue on the other petal that has 6 cm for the length. Join to the center of the flower


Photographed by Acik Mardhiyanti


Photographed by Acik Mardhiyanti
  • Now, apply the glue to all the dark blue satin ribbon petals. Joining them to the flower

Photographed by Acik Mardhiyanti


Photographed by Acik Mardhiyanti


Photographed by Acik Mardhiyanti
  • Prepare the silver leaf. Cutting the stalk; applying the glue; join it to the flower

Photographed by Acik Mardhiyanti


Photographed by Acik Mardhiyanti


Photographed by Acik Mardhiyanti


Photographed by Acik Mardhiyanti
  • Prepare the felt. Cut round the felt with 3 cm for diameter

Photographed by Acik Mardhiyanti


Photographed by Acik Mardhiyanti
  • Prepare a needle, sewing thread, and a pin brooch. Attaching the pin brooch on the felt by sewing it

Photographed by Acik Mardhiyanti


Photographed by Acik Mardhiyanti
  • Applying the glue on the other side of the felt

Photographed by Acik Mardhiyanti
  • Now attaching the felt with the flower

Photographed by Acik Mardhiyanti
  • If you have a "HANDMADE" label, you can place it on the pin brooch by gluing it

Photographed by Acik Mardhiyanti


Photographed by Acik Mardhiyanti


Photographed by Acik Mardhiyanti


Photographed by Acik Mardhiyanti

The steps are easy, right? I am sure you will master it. Furthermore, you can find the opportunity in it by selling this work to your friends. Thank you for reading my article and bye for now!

Note:
  • Written by Acik Mardhiyanti
  • Photographed by Acik Mardhiyanti
  • Do not copy this article without permissions
  • Do not reuse these photographs anywhere else without permissions


After 2 Years of Stepping Down, Where is Ichikraft Now?

About two years ago, I made the decision that the Ichikraft Etsy shop closed temporarily. However, even until this day, I am still with the ...